The video above steps through the process of creating your first client and setting up a basic plan. It covers the various inputs available in the plan editor, and how to save your work when you’re ready to move on to generating a proposal. After watching, use the chapter list to jump to specific areas of the video to review topics.
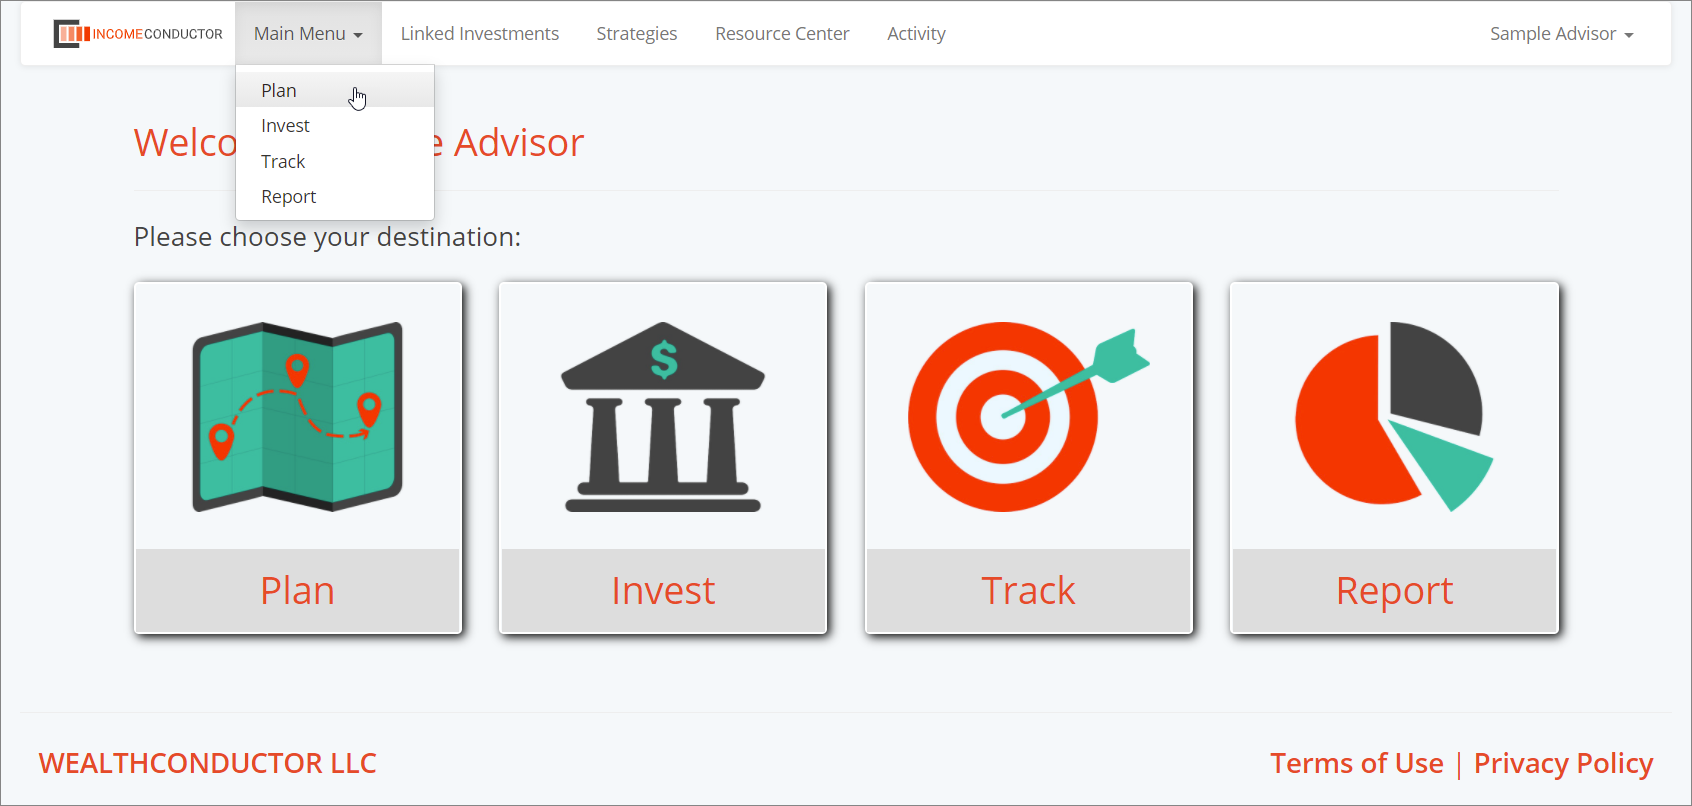
To create your first client in IncomeConductor, you will need to navigate to the Plan area once you have logged into the system. The Plan area is where you will create new clients, as well as search for existing clients.
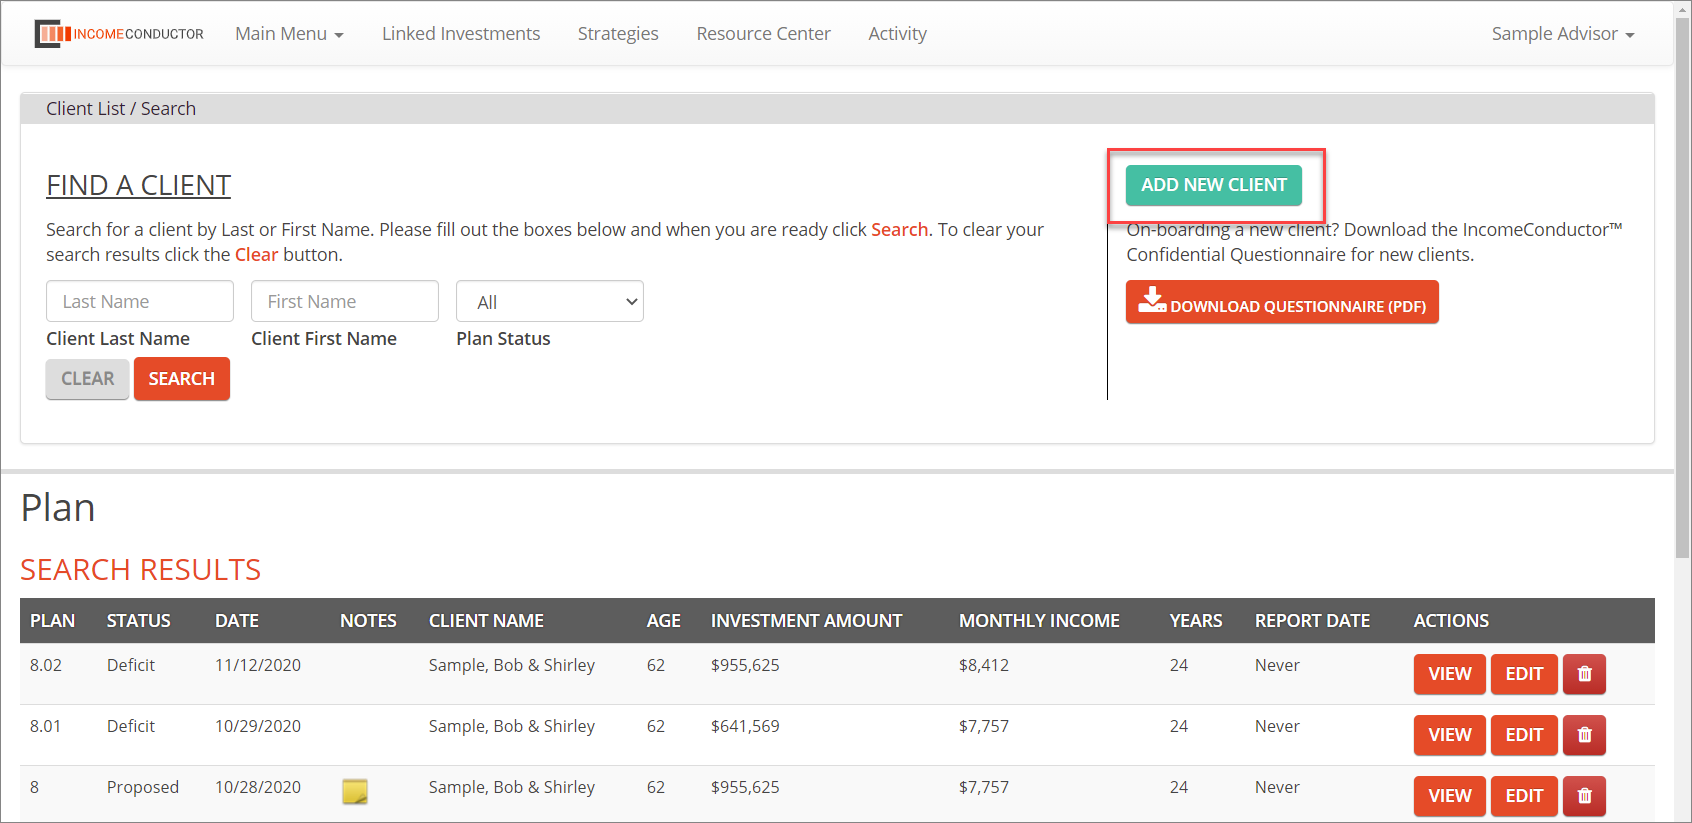
Once in the PLAN area, click the green ADD NEW CLIENT button in the top right. You will be taken to a screen where you must enter some basic information about your client to proceed.
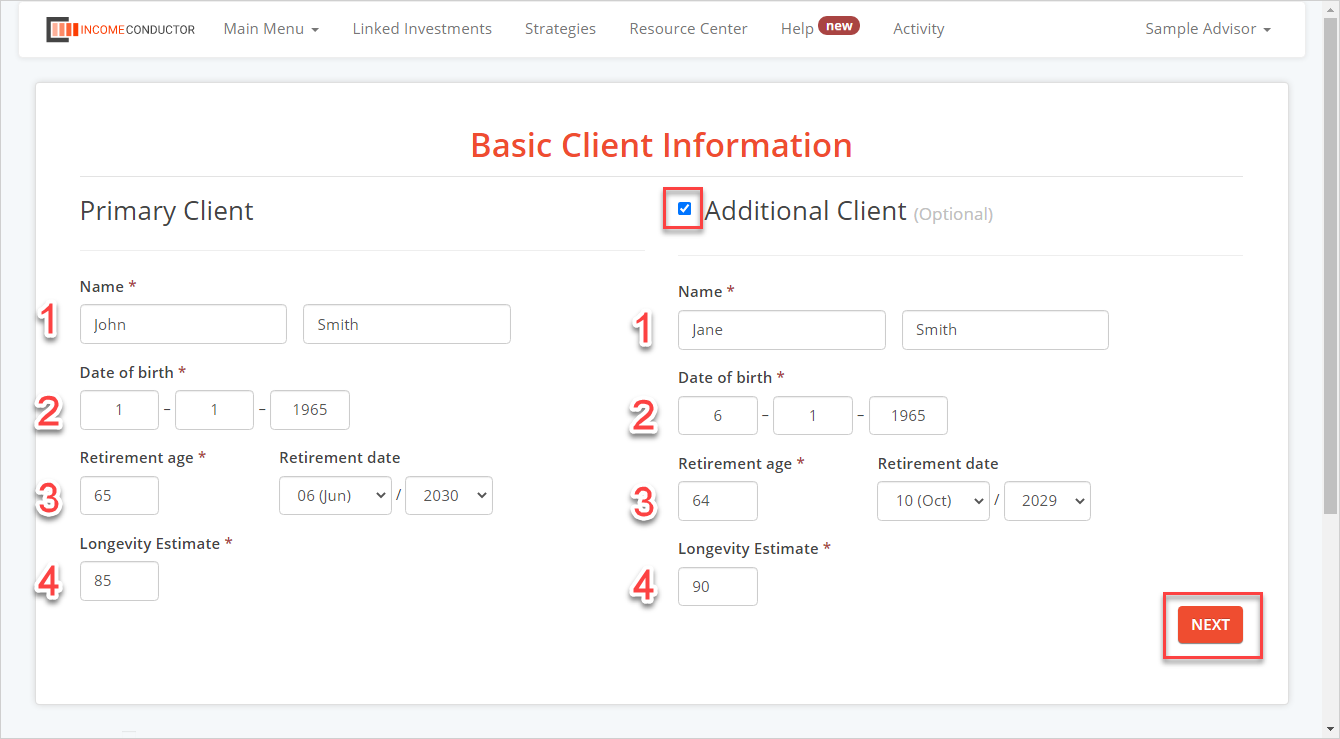
New Client – Basic Client Information
To create a new client you’ll need to enter the following info:
- Name
- Date of Birth
- Retirement Age or Retirement Date (default is the current date)
- Longevity Estimate (default is 90 years old)You can add another household member by clicking the checkbox next the Additional Client title.
You can add another household member by clicking the checkbox next the Additional Client title.
If you enter a Retirement Age, the plan starting year will be automatically calculated. If you enter a Retirement Date, the age of the client on that date will be calculated. The income plan will begin on the soonest Retirement Date. You can enter both a month and a year.
The Longevity Estimate represents the age to which the client is estimated to live. The income plan will last through the end of the year to which the client is estimated to live.
Once the required information has been entered, click Next to proceed.
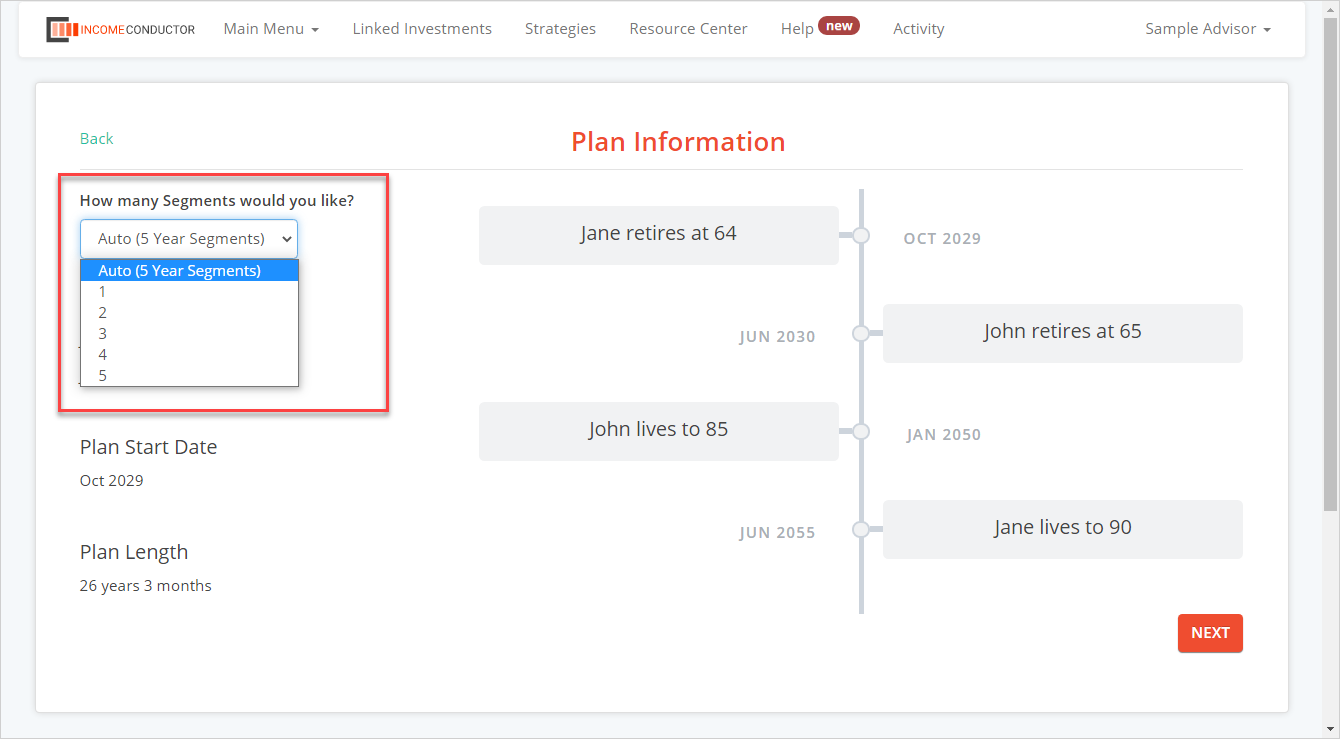
New Client – Plan Information
After clicking Next, you will be shown an illustration of the plan structure. The plan will begin when the first client retires, and will end when the last client dies. You can see these events along the timeline. The Plan Participants, Plan Start Date and calculated Plan Length are shown to the left of the timeline.
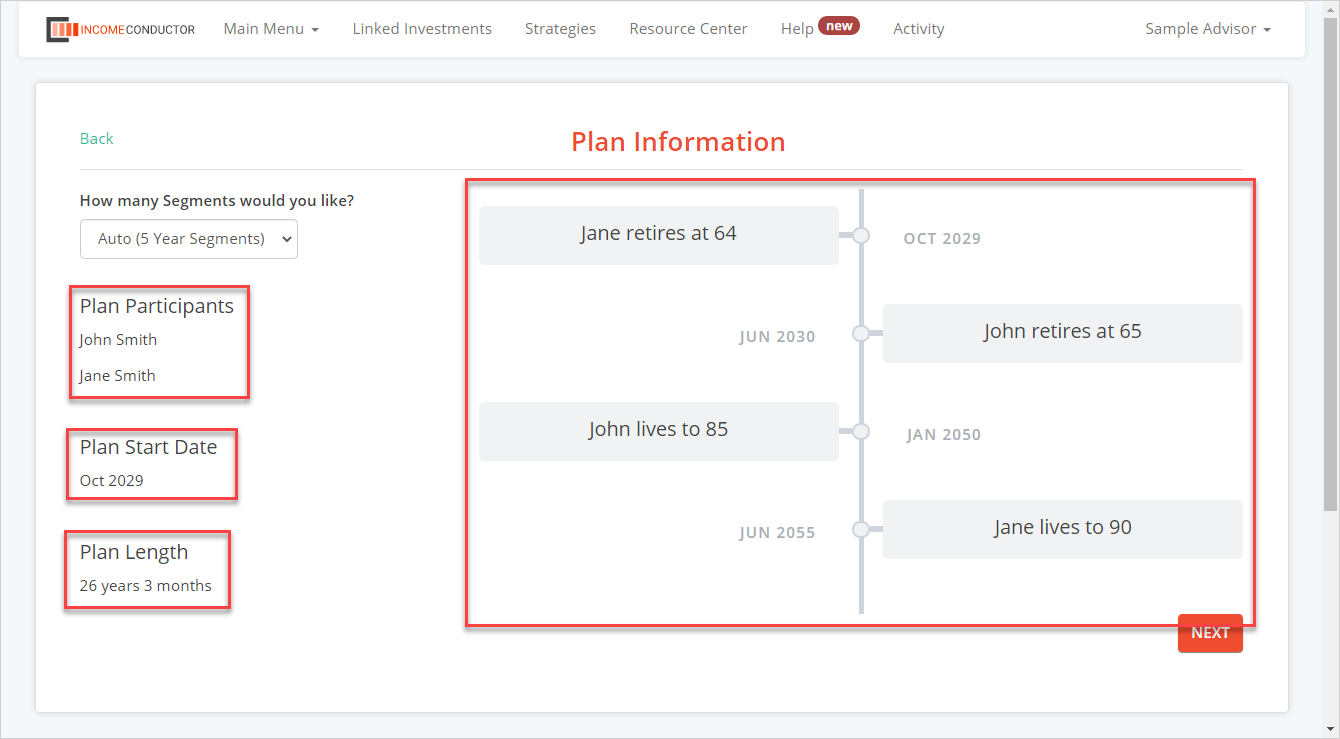
You can also choose how many segments you would like the plan to have on this step. The dropdown gives the options of 1, 2, 3, 4, 5, or Auto. If you choose Auto, the system will divide the plan into as many 5 year segments as will fit in the plan length. Choosing 1-5 will evenly divide the plan length into the chosen number of segments.
For example, if the plan is 30 years long and 3 segments is chosen, the plan will have 3 segments of 10 years each. If Auto is chosen, the plan will have 6 segments of 5 years each.
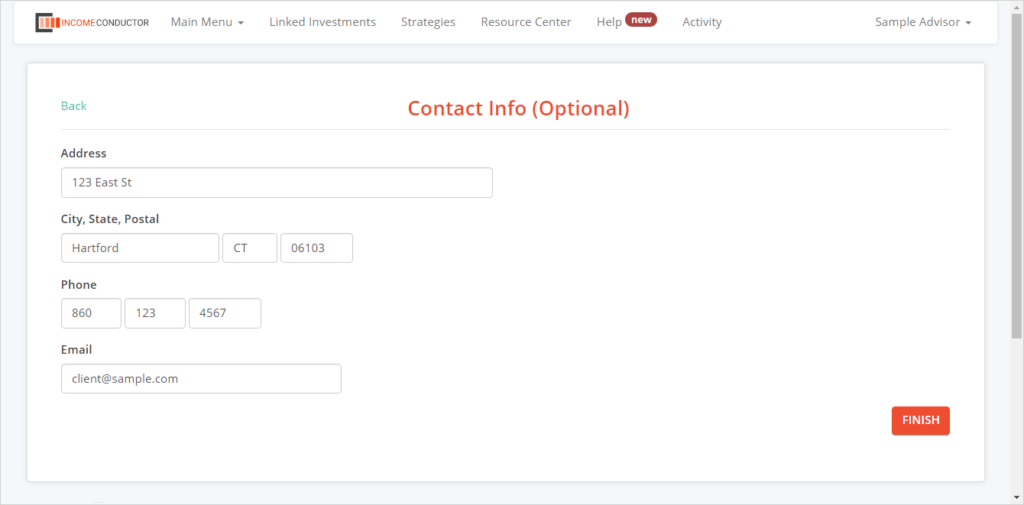
New Client – Contact Info (Optional)
You can choose to include contact information for this client if you wish. This information is for your own recordkeeping and does not appear on client reporting. If you plan to use the Plaid integration, you will need to enter an Email address for the client. You can do so now, or edit the client at a later time to add an Email address.
Clicking Finish will take you into the Plan Editor.
The Plan Editor
After completing the final step in client creation, you will be taken into the Plan Editor. Here is where you can customize your client’s income plan. The plan you see in the editor is a pre-populated plan that serves as a template for you to customize. By default, the plan will have the following settings:
- Solve for the asset level required to fund a $5,000 monthly income goal
- 3% assumed annual inflation increases
- Segments will default to 5 years each. If the plan is not a multiple of 5, the final segment will be shortened accordingly.
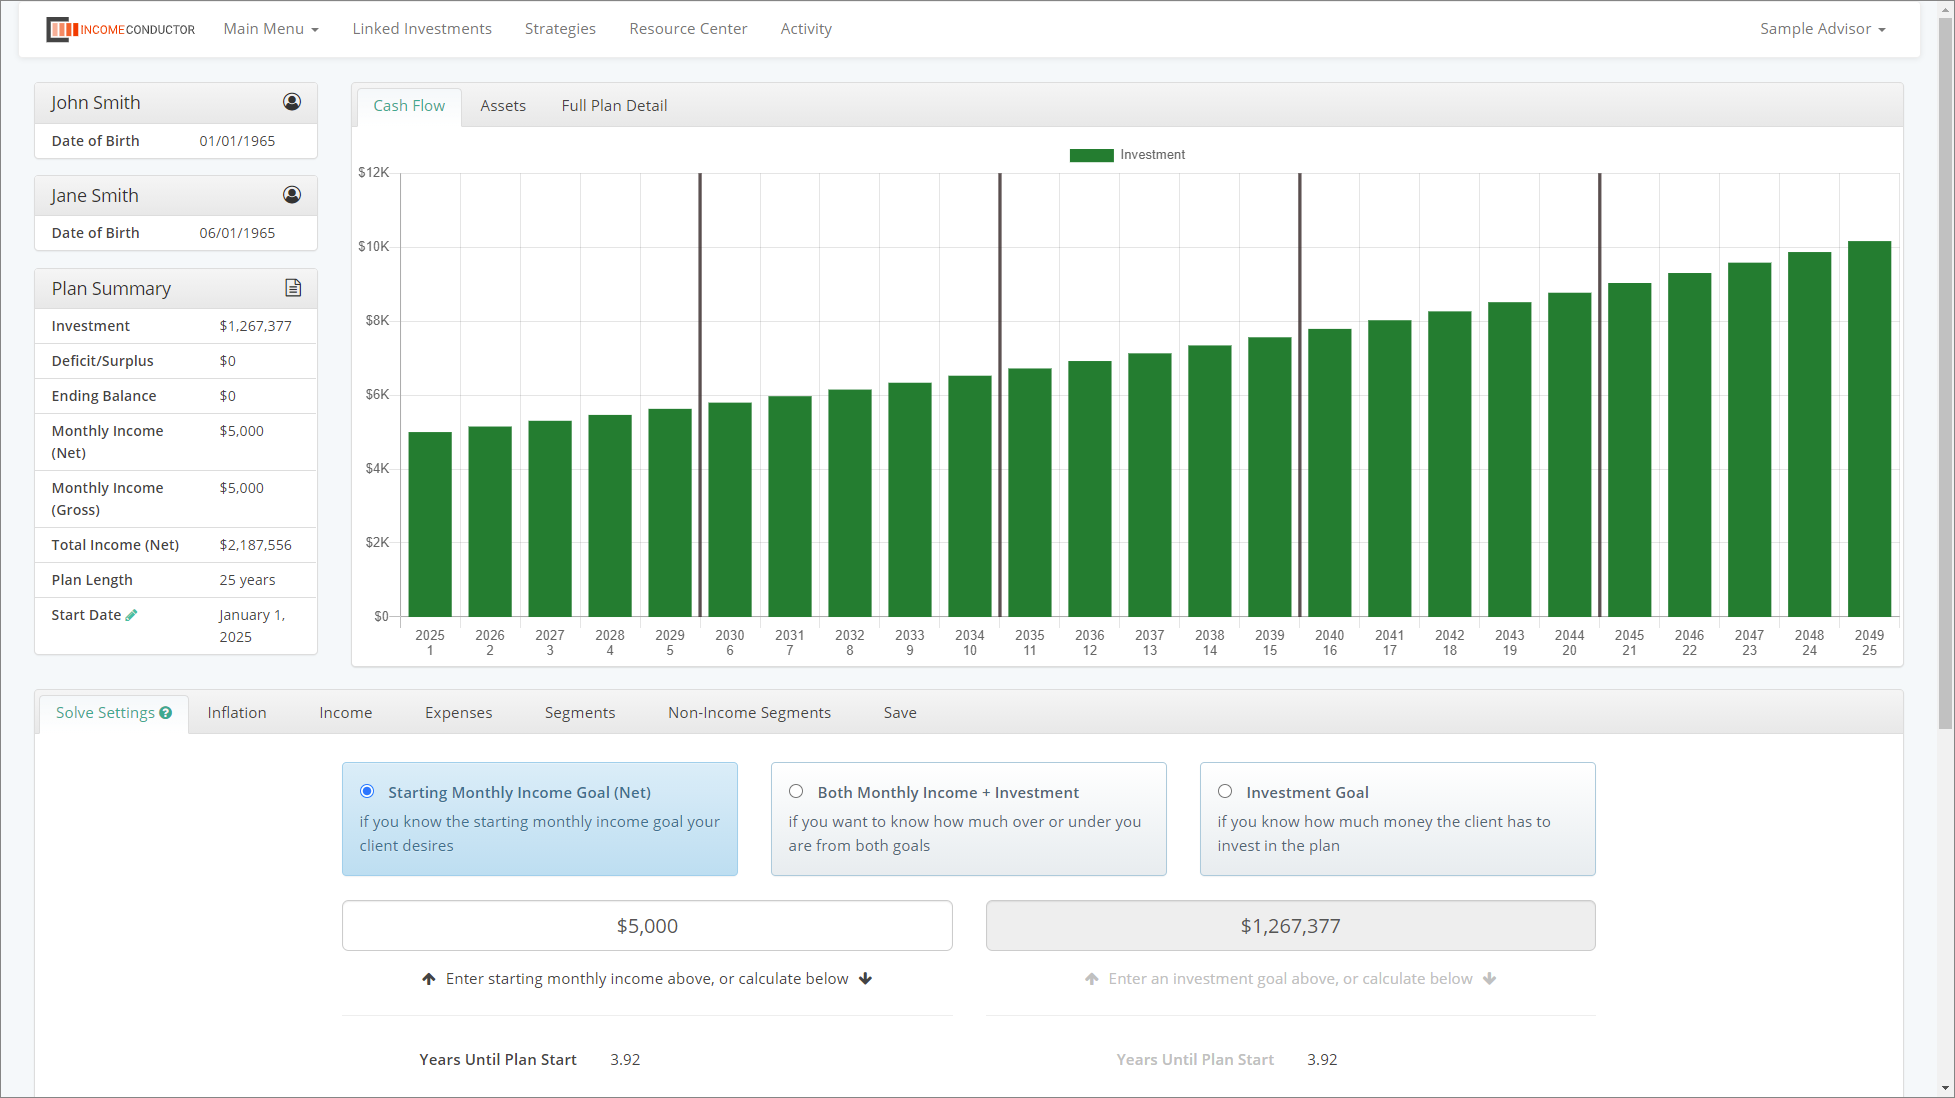
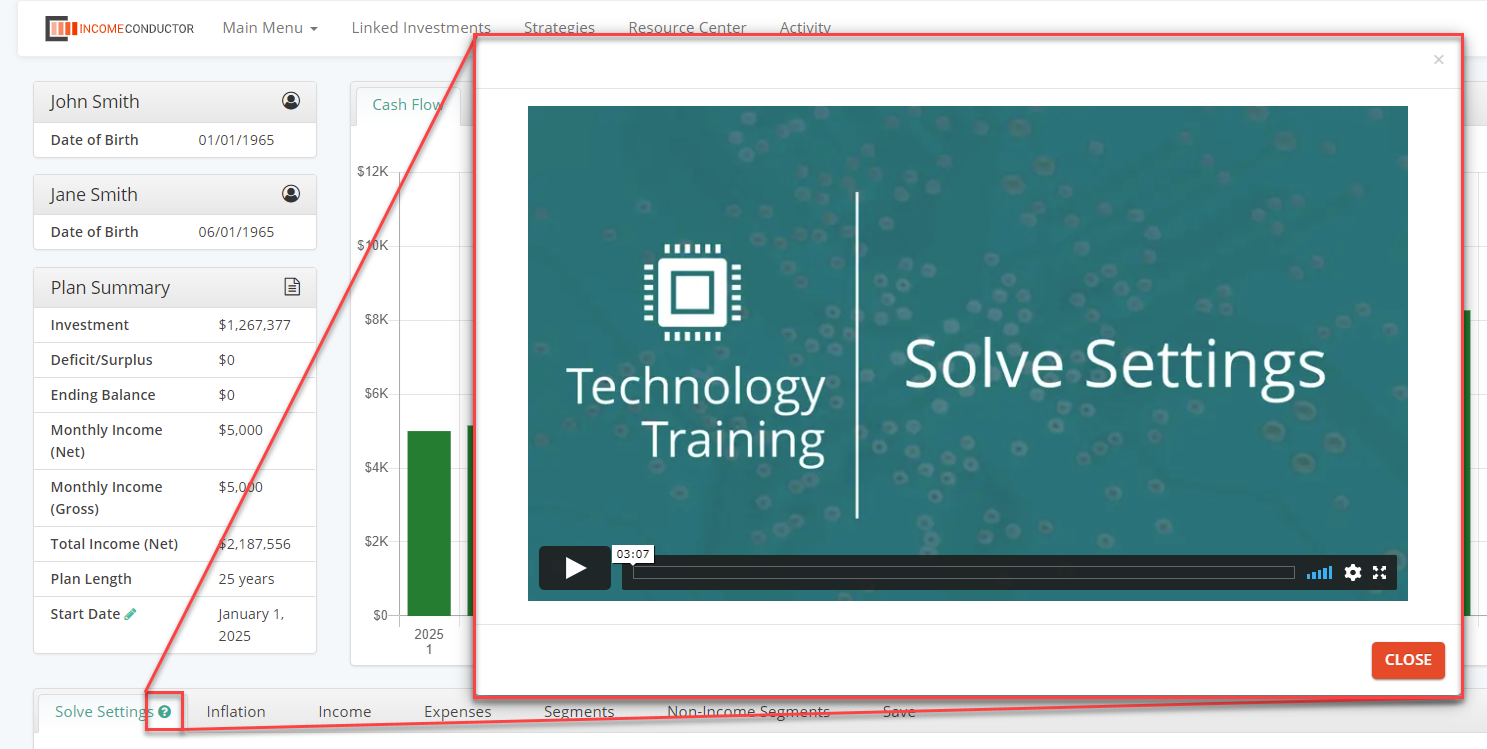
Be sure to check out the training videos for each section of the Plan editor by clicking the green question mark icon on each tab as you select it.
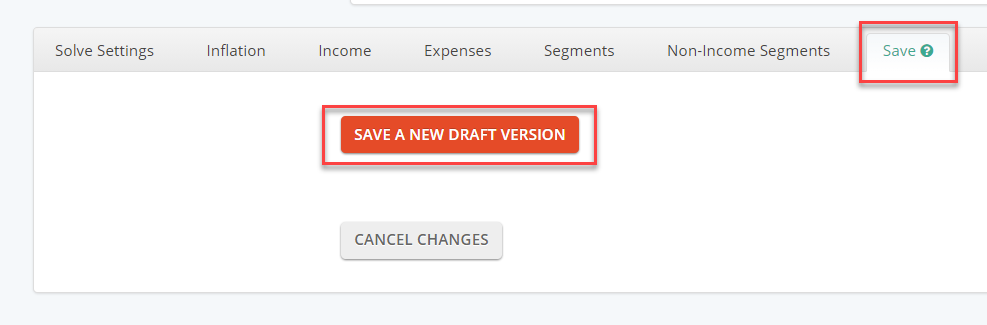
Don’t forget – once you’re done editing your new client’s plan, be sure to select the SAVE tab and click Save a New Draft Version.
Your new client will now appear in the Plan area search results.